


Hello to A Few of My Favorite Things readers! This is Ruth and Sammy from Scraps N' Strings and we are so excited to be doing our blog swap with Jessica! She has so many great ideas!! We figure we had better introduce ourselves a bit before we start.

I'm Ruth and I am a stay at home mommy of 2 (3 and 1) and a part-time photographer, you can see my work here. I enjoy making "stuff" and taking pictures of them! I especially love to sew and like to break out the Modge Podge. I love anything that is quick and simple! After I got married, I started crafting with my sister-in-law Sammy as a way to make our homes cute without spending a lot of money.

My name is Sammy and I have 2 darling little boys, 2 1/2 and 1 year. I'm a stay at home mom and I like to spend my zero amount of free time trying to be crafty and beautifying my home. One of the first things my husband said to me when we bought our home was, "You want to put crafts up, don't you?" So that's what I've done. And now we've decided to share some of our ideas with you! We've got a little bit of everything on our blog, from baby and home tutorials to recipes!
So on to the tutorial...


So on to the tutorial...
I've been seeing elastic thread all over the place lately and I really wanted to find a project to try it out. After much debate I decided that I wanted to make myself a scarf. I love scarves. I have about a billion of them, and I could have a billion more and still be wanting. This one is really fun and can be worn loose in the summer or can be wrapped tighter in the winter. I love it!

To make this scarf, I started with some plain white knit fabric

And cut a strip 14 inches wide. It was probably about 5 ft long, though I didn't measure, you can make it as long or as short as you want.


I used the Dritz brand elastic thread. I was about $1.50 a spool and can be found with the elastic at Joann's.

Hand thread the bobbin with the elastic thread and use plain thread on the top of your sewing machine. I used a straight stitch at a 2 1/2 length and set the tension on my machine to the highest setting possible. Starting at the bottom of my scarf, I started sewing an S shape through the length of the scarf.


And sewed clear from one end of the scarf to the other.

Next I folded it in half hotdog way, right sides together, and sewed along the edge.

And flipped the scarf right side out.

Next I took the two ends and sewed them together.


And that's it. Super easy and way fun. I love this plain but just think of all of the different fabric options and colors and patterns you could do!

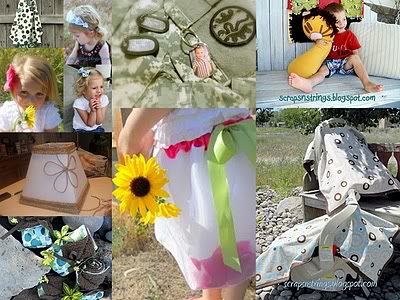
So come come check out our blog for lots of other fun ideas, including the tutorials shown below. Just click on the pic! And thanks for having us over!


1 comment:
Very cool scarf ! :)
Just better Together
Post a Comment