


Showing posts with label crafts. Show all posts
Showing posts with label crafts. Show all posts
Mar 22, 2016
May 7, 2013
Easy-peasy Pillows for $1
I really hope that I made this easy to understand, but I may have made it just more complicated...I guess I'll find out from you guys soon enough :)
The way these only cost me $1 was because I just used fabric I already had for the backing and covered pillow forms I also already had and just needed a little face-lift.

I bought clearanced fabric samples from JoAnne's- which were beautiful, designer, and high-quality but only came in a square big enough for a pillow. You can't beat $1 though!



Nov 25, 2011
Gift Guide: Handmade Holdiay
This year I decided instead of doing a bunch of giveaways (which was crazy and there was no way I could handle that this year) I would put together a gift guide to help you find the perfect gift...along with a few giveaways mixed in.
Today I wanted to start off with the handmade Christmas gifts for those with a strict budget this year- who isn't? There are so many cute ideas and I wanted to share a few of my favorites:

A bunch of great ideas from the kitchen


Get creative with kitchen items- shop at the dollar store!

Add some scrap fabric to a onesie for cute ruffles

For the newlyweds you know-a sweet photo collage
OR do the same thing with a baby picture.

This was a birthday present idea, but you could do something similar:
1 memory from friends and family on a letter, for # of years they are old.

Homemade vanilla- this stuff tastes AMAZING.
find more and credits to images here
Oct 28, 2011
Simple Halloween Craft
A couple weeks ago, while my mom was in town, I got to go spend time with some of my favorite people. Me and a few cousins had a little "girls night" making a cute Halloween craft and eating food. It was fun, and I decided to take some pics of their cute crafts to share on the blog.
First cut out blocks of wood and sand the edges. Then paint them black or any color you want.

Next cut out cute paper for each block. You can also make these for other holidays and use other seasonal paper.
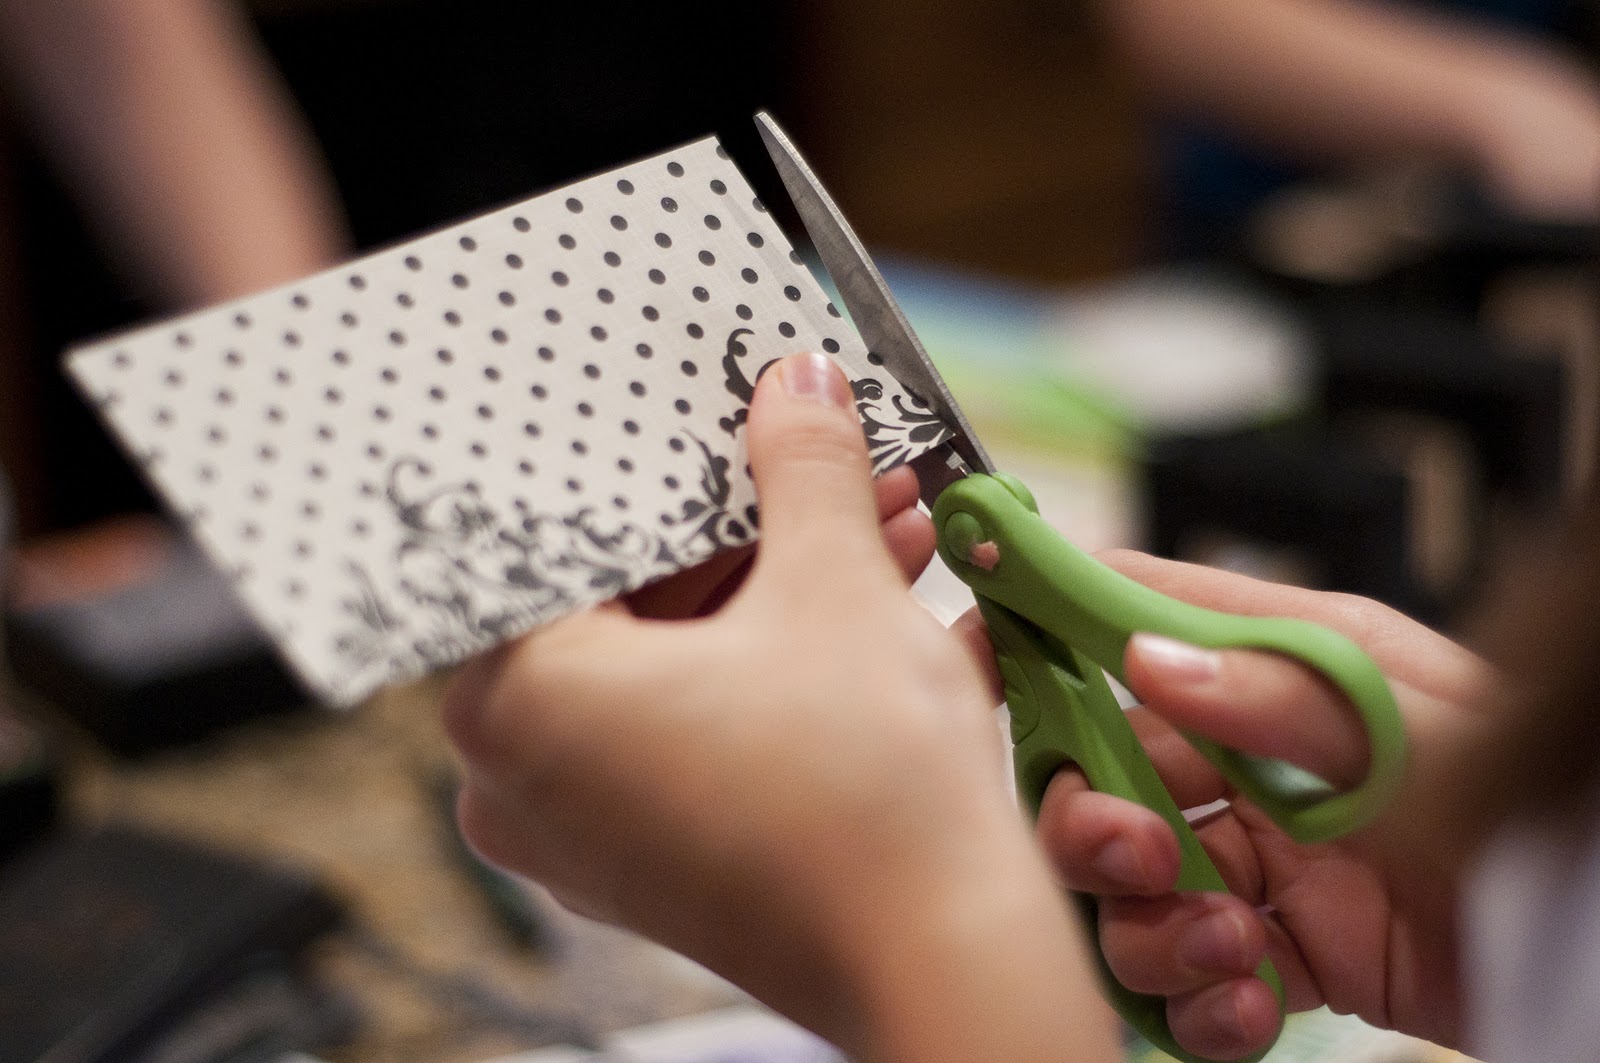
Mod Podge the paper onto the blocks of wood.

Use less on the back to prevent bubbles from forming.

Add cut outs if desired, but make sure to leave room for the letters. You might even want to do the cut outs after you put on the letters.

Another cute thing you can do is brush the edges of the blocks and paper onto a black stamp pad. It causes a weathered/aged look that is really cool. :)

And after adding the letters, here is an example of the finished product:

I wish I would have taken pics of all the finished ones- everyone did something a little different and they were all super cute.
Thanks for the fun night girls!


